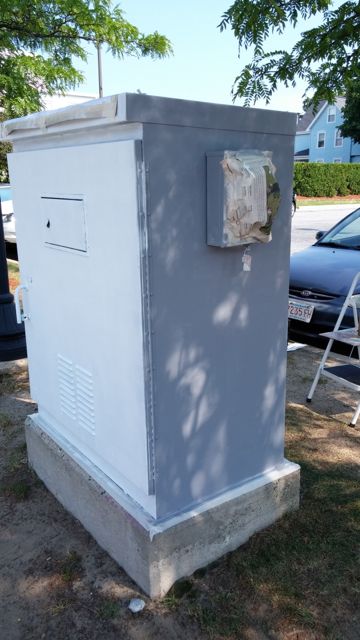
The box had a coat of green (oil based) paint – it was in pretty good shape so I wouldn’t need to scrape it down at all. It had a small amount of graffiti – and the usual white dielectric substance one finds any where there are birds. I was able to get it prepped for priming with a wire brush and some sandpaper. After washing it down I gave it three coats of acrylic primer. Then I laid on a base coat of tile gray.
|
|
|
|
|
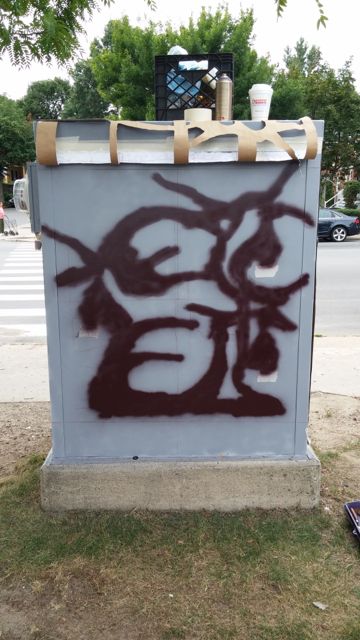
For this project I used Montana Gold and Montana Black acrylic lacquer. This paint comes with interchangeable nozzles that produce a range of spray widths for detail work to area coverage. To start out and get used to the handling of the paint I applied a base code of Roof Gray – you can see the contrast between the priming white and the first coat of spray paint above.
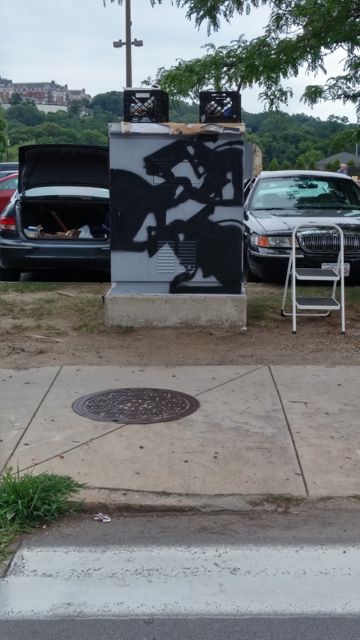
With the stencils I wanted to produce scaled images that would help me set the drawing up very quickly. I expected to have to work on the images from the first layer of spray paint I put down. For the text on the bottles I actually went out and bought stencil paper and cut some stencils that could transfer a final image. I tried using the sticky mylar that is sold for stencils but found it impossible to manage – the stencil paper worked great.
To get a crisp image you need to have the stencil pressed right up against the surface – this I did for the text – but not for the main images you can see that the initial images are soft/blurry around the edges – glue dots got me close enough.